
We may earn revenue from the products available on this page and participate in affiliate programs. Learn more ›
This is a short and simple project that anyone with an old car should probably consider. A friend suggested a pair of LED headlights, and I decided to give them a shot. I’d always sort of considered them overkill and perhaps a bit overpriced, but I found a set of American-made Sylvania-branded assemblies on Amazon for just $157 per side and pulled the trigger to give them a shot. With almost 40% less strain on the battery and charging system as an added benefit, the bright lights seem to be worth the cash outlay so far.

I have a big road trip coming up next week, and at least some of that will take place after dark. If these new bulbs help keep me out of trouble on that trip, then I’ll consider it a good investment. With my old headlights, the danger was really with oncoming traffic. With modern cars headlights being bright enough to give me a bit of night blindness, they would overpower my headlights and I couldn’t see what was on my half of the road at night, and that would last for a split second even after the car had passed. As I mentioned in my road trip piece last week, my 912E and I almost came to a physical dispute with a pack of deer on the highway, because my old headlights were dim and driving at highway speeds at night was overdriving the distance you could see with those sealed beam bulbs. Bullet bitten, let’s see what these do.

I waited until after dark to get started on the project so I could do this comparison. The picture above is the light profile of the old sealed beam lights.

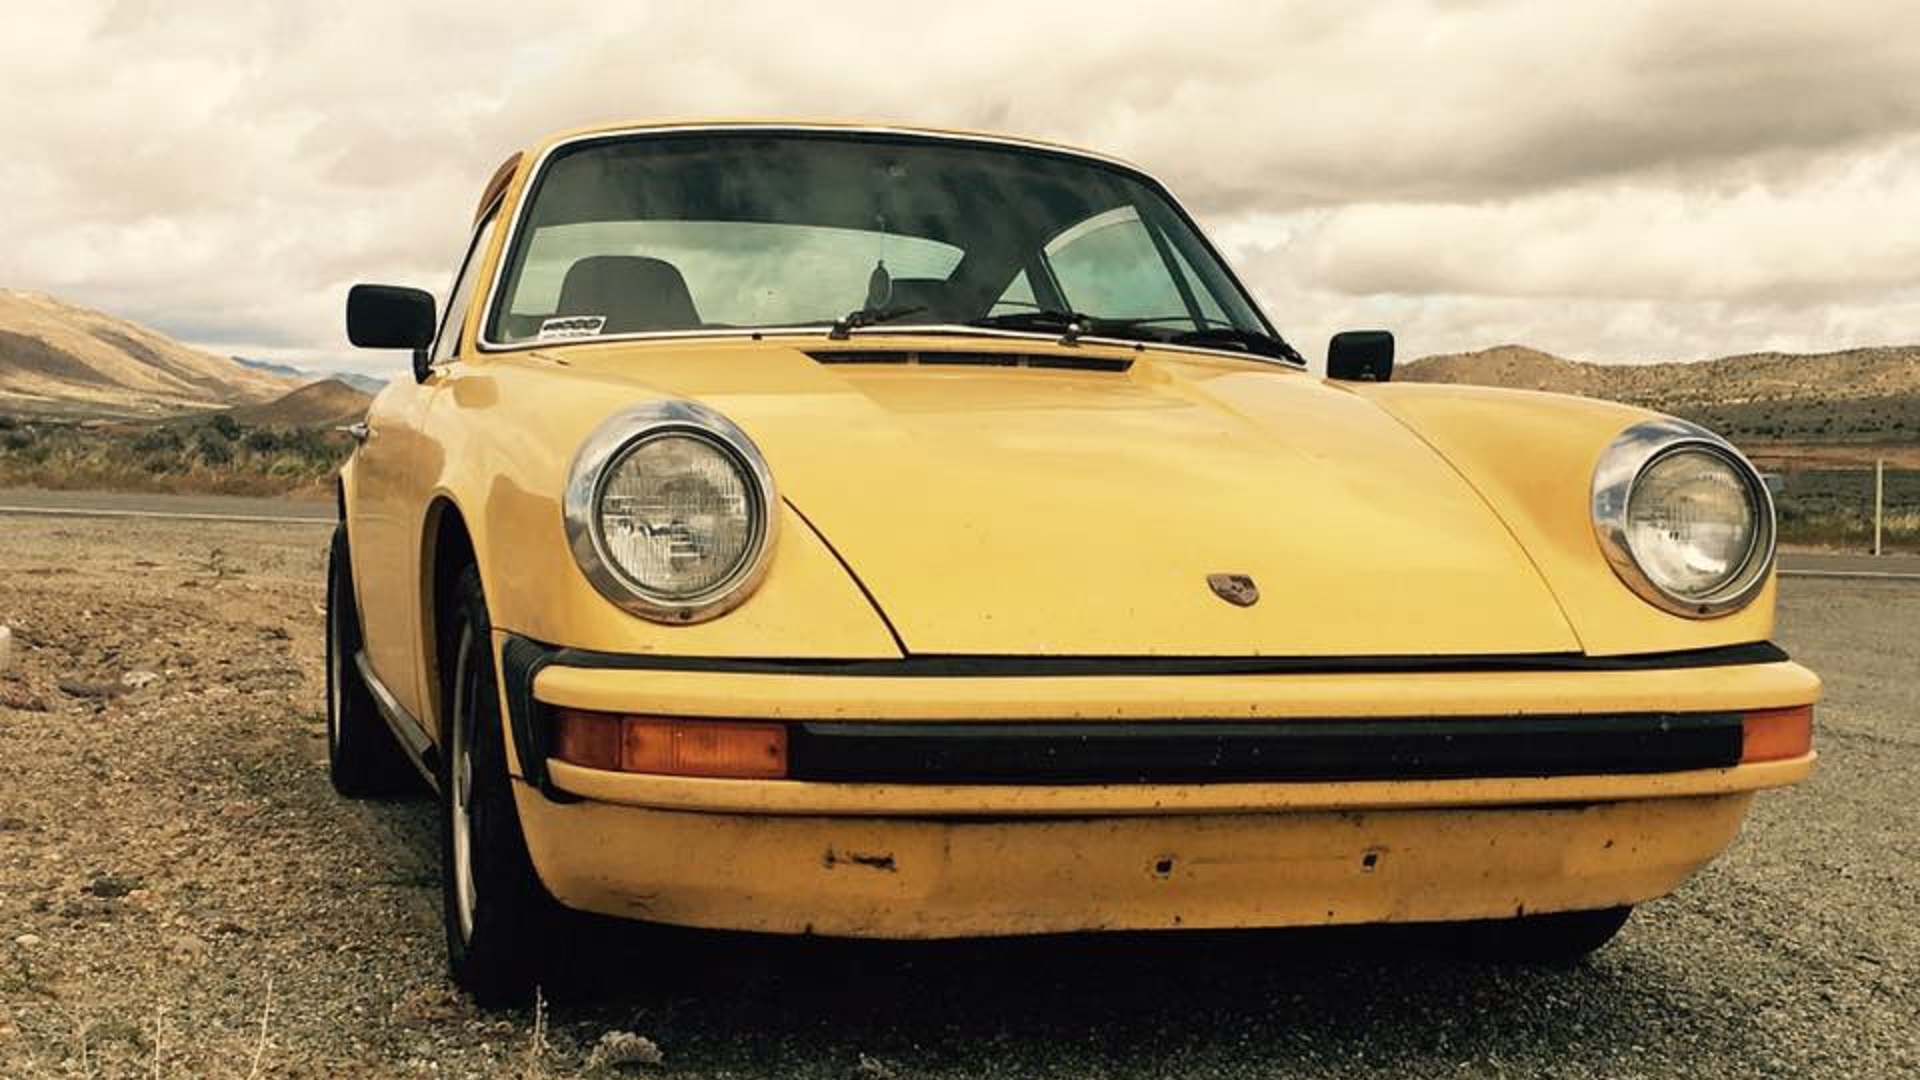
This style of headlight is known as a “sugar scoop” for the giant chrome trim ring. That ring comes off with just one screw at the bottom.

The standard 7″ round headlight bulb sits inside an aiming mechanism and is held in by a secondary ring that is fastened by three screws. I didn’t adjust anything when installing these, as the beams of my headlights seem to be aimed properly, just too dim.

From this point, the new LED assembly just pops in and fastens up the same way the old one came out.

The Sylvania unit I used has a plastic cover that sticks out just a bit from the base, making it sit just a bit further out than the old unit. With this sugar scoop style housing, though, you barely notice.

I waited until sunrise to take this picture of the final result. It doesn’t look too bad if you ask me. It’s not the prettiest assembly I’ve ever seen, and it looks just slightly out of place on this old Porsche, but the benefits outweigh the downsides. If you don’t believe me, just check out that video at the top of the page.
While I’ve only driven with these headlights at relatively slow speed for about five minutes, I’ll be getting a lot of use out of them in the coming days, and I’m pretty well convinced that they’ll do really well. While these headlights are about ten times as expensive as a standard sealed beam might be, it’s worth the extra money if it prevents me from getting into a head on collision with an Armadillo as I roll through Texas.