
We may earn revenue from the products available on this page and participate in affiliate programs. Learn more ›
Bolt-on mods are a self-explanatory category of car modification. No fabrication, complication, or frustration necessary, because your new parts simply… bolt on. Or at least, that’s what I expected when I committed to upgrading the brakes on my 1991 Toyota MR2 Turbo.
As it turns out, just because parts are sold as bolt-ons—just because it’s already come off of someone else’s car—it doesn’t mean it’ll fit yours with just a few turns of the ratchet. It may still take a lot of trial, error, sweating and swearing. And above all, increasingly annoyed bicycle rides back to the parts store.

I wanted to upgrade my car’s braking performance on a budget using a combination of OEM parts and aftermarket where needed. That meant bolting on brackets to fit aftermarket front calipers and improved stock rears, but saving money by using bigger OEM rotors. I also planned to replace my brake fluid and adjust my handbrake in the process.
I’d been window-shopping brake upgrades ever since I had an engine built for my car by a shop in Denver. Dynoed at 328 horsepower and 325 pound-feet of torque at the rear wheels, my 1991 Toyota MR2 Turbo makes close to double the power it did from the factory, which would overwhelm the puny stock brakes—especially if I were to track it like I hope to.
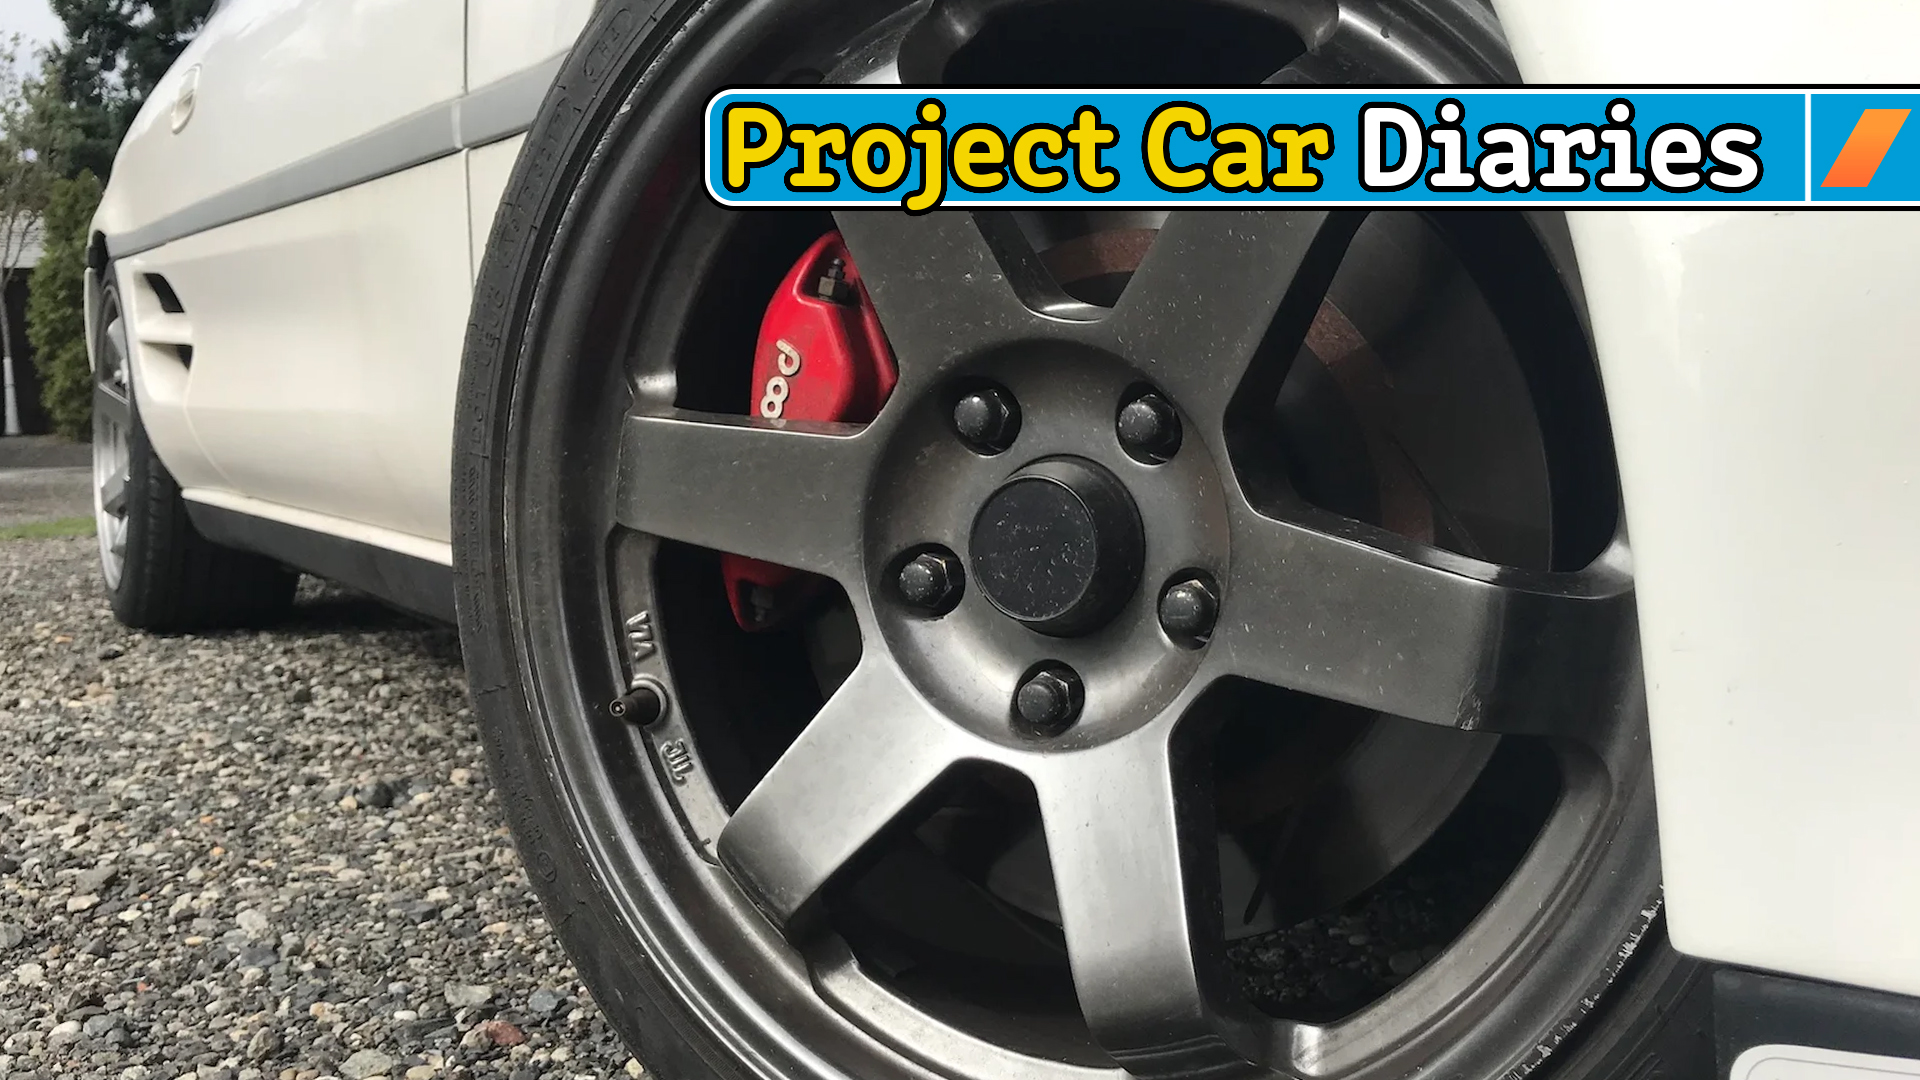
As it happened, a used set of big brakes came up for sale for half the price of a new set. They consisted of four-piston Wilwood front calipers with brackets to fit front rotors from a turbo Supra, plus enlarged 1993-onward rear calipers bracketed to fit Mazda RX-8 rotors. They had come off another MR2, so I figured they’d bolt up to mine in an afternoon.
You probably know where this is going.

Because I’d be replacing the brake fluid, I knew to start with the furthest corner from the master cylinder—the rear right. Disassembling the more complicated, handbrake-equipped calipers wasn’t difficult, but installing the new hardware, I hit a snag immediately. The caliper brackets didn’t fit. Thirty-one years of rust and brake dust had caked onto a factory casting seam, and the bolts wouldn’t thread. The only solution was to grind it down, and I don’t own a grinder.
But I do have an electric impact gun, which a quick search online revealed was compatible with a drill chuck adapter that could hold a honing stone. Because of a mislabeled eBay ad however, I didn’t find out it was sold in two separate halves until after the first had arrived. This overlapped with me moving across the country, stretching what I imagined I could have done in a day into a weeks-long process. And that was without even finishing a single corner.
When I finally unpacked and fit the adapters together, the end result was a little wobbly—but it’d do. One prolonged grinding session later (where I had to switch directions so the chuck didn’t loosen on me), the bracket finally went on, leaving me to bend the stock dust cover back to fit the new rotors. Only, there was a problem: it was the wrong damn rotor. I hadn’t realized I was supposed to buy the fronts, and had instead purchased RX-8 rears.
No local parts stores had them in stock, so it took days for them to arrive. When they did, I got the caliper bolted up before discovering I had missed something else. Multiple something elses, in fact: The caliper slide pin was bone-dry, the slide bolt was missing outright, and half the caliper mounting bolts were missing. I pilfered slide bolts from the stock calipers, but the grease and other hardware required another bike ride to the parts store.


By the time I returned and got that corner assembled, the sun was already going down. That meant no driving until I had the other side done, but I couldn’t leave the car on jack stands because it was street-parked—and its catalytic converter might entice a passerby.
But with tools in hand and knowing what to expect, the other side of the rears was a relative breeze. Up to the point of a test drive that is, because the rear brakes were dragging something awful.
Initially, I thought it was down to a missing caliper bolt sleeve that turned up in the box. Instead, it turned out the handbrake was far out of adjustment. That meant peeling off multiple underbody pieces to adjust the cable, but even then, the brakes dragged on one side and not the other. In my rush to reassemble, I had left the handbrake unhooked on one side—and the cable wouldn’t go on now. I had to strip the underbody shield a second time, correct the handbrake adjustment, and torque the rear lugs all over again. Finally, I was ready to start on the front axle.
That is, after reattaching the underbody, which I had forgotten to bolt back on.

Without a handbrake to deal with, the fronts would be much more straightforward. Bend the dust cover back, jam on the rotor, fit the caliper—no grinding this time—and use the last of the mangled nut on the stock brake hardline to switch to the braided steel one off the new Wilwoods. Done.
Almost. The line was so stiff that it wouldn’t turn to thread into the caliper with both installed. Switching to the stock Toyota fitting with a banjo bolt seemed to work, until I reached the same point on the other side and it just … wouldn’t.
The problem turned out to be that the thread pitch on Wilwood’s fitting was an unusual one, more commonly used in plumbing than automotive, and that it didn’t work with the Toyota bolt I had tried to twist in. Also, they wouldn’t work with banjo bolt fittings at all, which would’ve been useful to know before I broke one of the lines trying to switch it over.
Eventually, I figured out that Wilwood’s caliper fittings would thread into the steel lines the last owner had installed—thanks Parker! A bleed later, and the car was ready for a test drive after weeks.

It was a mess. The pedal was long, and rolling even at low speeds produced a rhythmic metallic clunk. That turned out to be a dust cover that I hadn’t pried far enough out of the way was catching the slots on the front rotors. It took multiple tries to get it and the screeching rears to quiet down.
Even then, I discovered the steering had developed a wobble on the highway. Without time to fix it before a four-hour drive, I simply had to endure it. Why the seller of this brake kit included a set of warped rotors and a good pair is beyond me—swapping them out fixed the issue.
Now, the brake pedal goes lower before biting, but the engagement is still high on the pedal with that feel only Toyota seems to have mastered. I played with the idea of upgrading the master cylinder, but it can already lock the fronts without trouble. (The ABS has never worked properly, I need to fix that sometime.) Still, it stops well, and the only weak link in my braking power is the bad tires. Once I replace them, I’ll figure out if my brake bias needs tweaking.


That finally brought to an end an installation process that had stretched on for months. What was supposed to be a simple job was complicated every step of the way by things I just couldn’t have planned for.
The fact that easy projects can snowball with the slightest problem is Wrenching 101 to people experienced with cars, but it bears repeating for novice wrenches. Not to dissuade them from starting a project they’ve had eyes on, but because these problems can be overcome, even if you’re as easily discouraged as I am when things don’t go to plan. You’re capable of more than you think, and it’s okay to struggle or have to ask for help. After all, hitting a wall is sometimes the only way we learn to climb.
Got a tip or question for the author? You can reach them here: james@thedrive.com
