
We may earn revenue from the products available on this page and participate in affiliate programs. Learn more ›
Having spent the better part of a year installing tires at the Pep Boys in Fredericksburg, Va., I thought I knew a thing or two about how a tire is mounted to a rim. It was my first job after graduating from college, and knowing very little about working on cars, I was an eager pupil. As I soaked up knowledge from my well-meaning teachers, I felt confident that following their directions would give me the power to mount and balance tires perfectly.
But 16 years later, while re-learning how to use the tire mounting and balancing machines at Brooklyn Motor Works– where, in case you were unaware, we’re rebuilding a 1988 Toyota Land Cruiser – I discovered that I also had to re-learn the whole tire installation process. But that’s nothing new. As Carlos, Brooklyn Motor Works’ proprietor has pointed out, we learn many things as hobby mechanics that must be un-learned when there are schedules to keep and customers to satisfy.
Anyway, here’s the correct way to mount tires. Now that I know these simple tricks, I’m wondering if any of the 12 tires on the three dilapidated beater cars I drive around on a regular basis are actually mounted correctly. Chances are, they’re not (I had ’em mounted at Pep Boys).
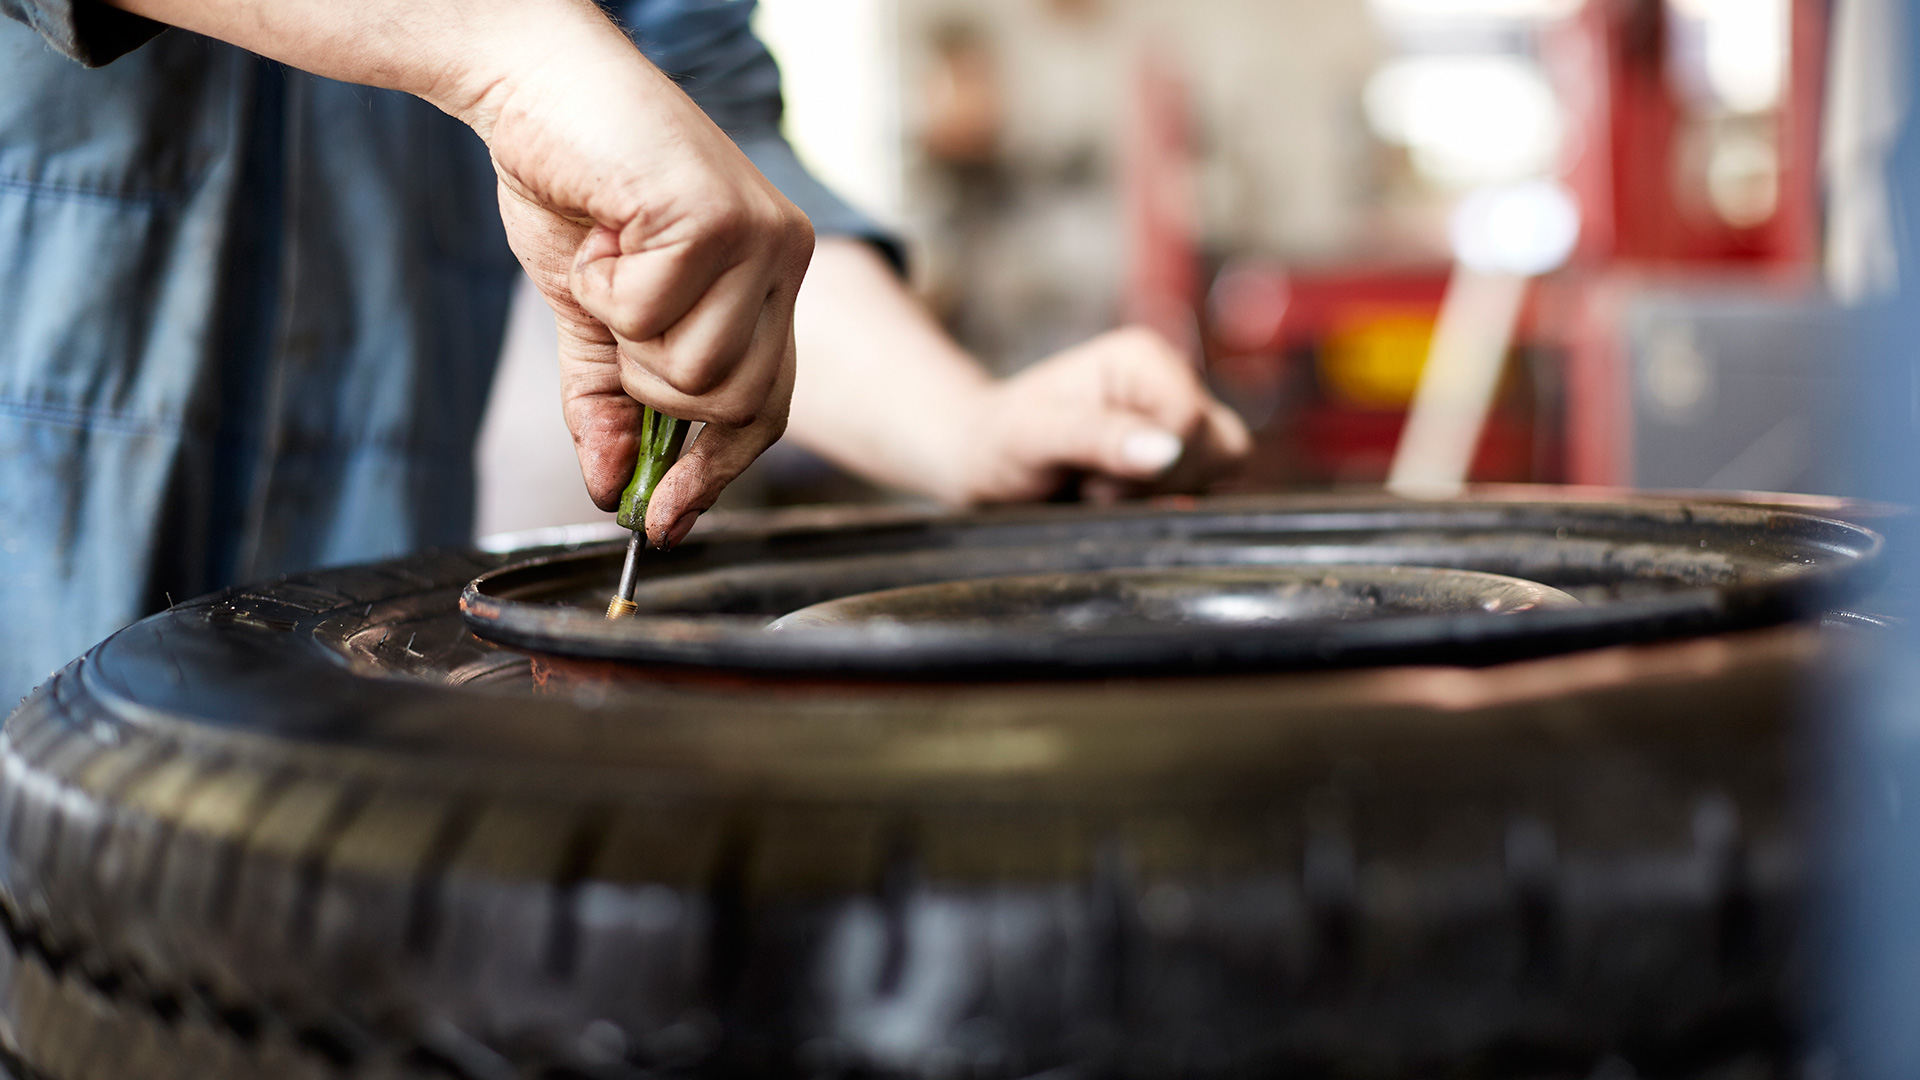
1. Remove the valve stem core to deflate the tire. Set the core aside for later use (if you’re installing new tires, pull out the stem and install a new one, removing the core).
2. Use the tire machine to remove the tire from the rim
3. With the tire off, run your finger along the inside lip of the rim. Does it feel perfectly smooth? If not, it needs to be. Rust pitting can cause leaks, and will cause the bead of the tire to hang up when it’s trying to seat on the rim (the beads are the really thick parts of the tire that come into direct contact with the inner and outer lips of the rim.
4. To remove rough patches, use several different grades of abrasive pads (I used coarse and medium Scotch Brite pads) to smooth out the inner lip of the rim, as well as the part of the rim the bead slides over as it seats on the lip. If there’s too much damage, it may be necessary to get another wheel. You’ll never be able to balance a wheel if the tire isn’t properly seated upon it.
5. Before installing the new tire (or, if reusing the old one, the same tire, mounted the same way it was before), apply a generous amount of tire bead lubricant to the tire beads and the rim. Don’t use soapy water (not enough slip) or grease (you’ll never clean it all off and the bead could pop off the rim in hard cornering). Bead lubricant is slippery, but dries, allowing the bead to set.
6. Use the machine to install the tire. Then, remove the wheel from the machine mounts.
7. Spray more bead lubricant between the beads and the rim.
8. With the stem core still removed, inflate the tire to its maximum pressure (you’ll see that number printed on the sidewall of the tire). The beads should pop onto the rim pretty quickly if the rim lips are smooth and you’ve used enough lubricant. It’ll go “POP.. POP!” as the beads seat.
9. Install the stem core and re-inflate the tire to its max pressure.
Assuming you followed all of these steps correctly, your wheel and tire are now ready for balancing. Then you’ll adjust the tire pressure to the vehicle manufacturer’s specifications when you mount the wheel and tire back on your car.
Now, I realize most people don’t have access to a tire mounting machine, but being aware of what it takes to mount a tire will, at the very least, give you the tools to ask your tire installer if they’re mounting your tires the right way. If the tire shop you’re using is doing things the quick and dirty way (mounting tires dry on pitted rims), find a better shop! No one wants to feel a sickening shudder as the car passes 65 miles per hour on the highway.
